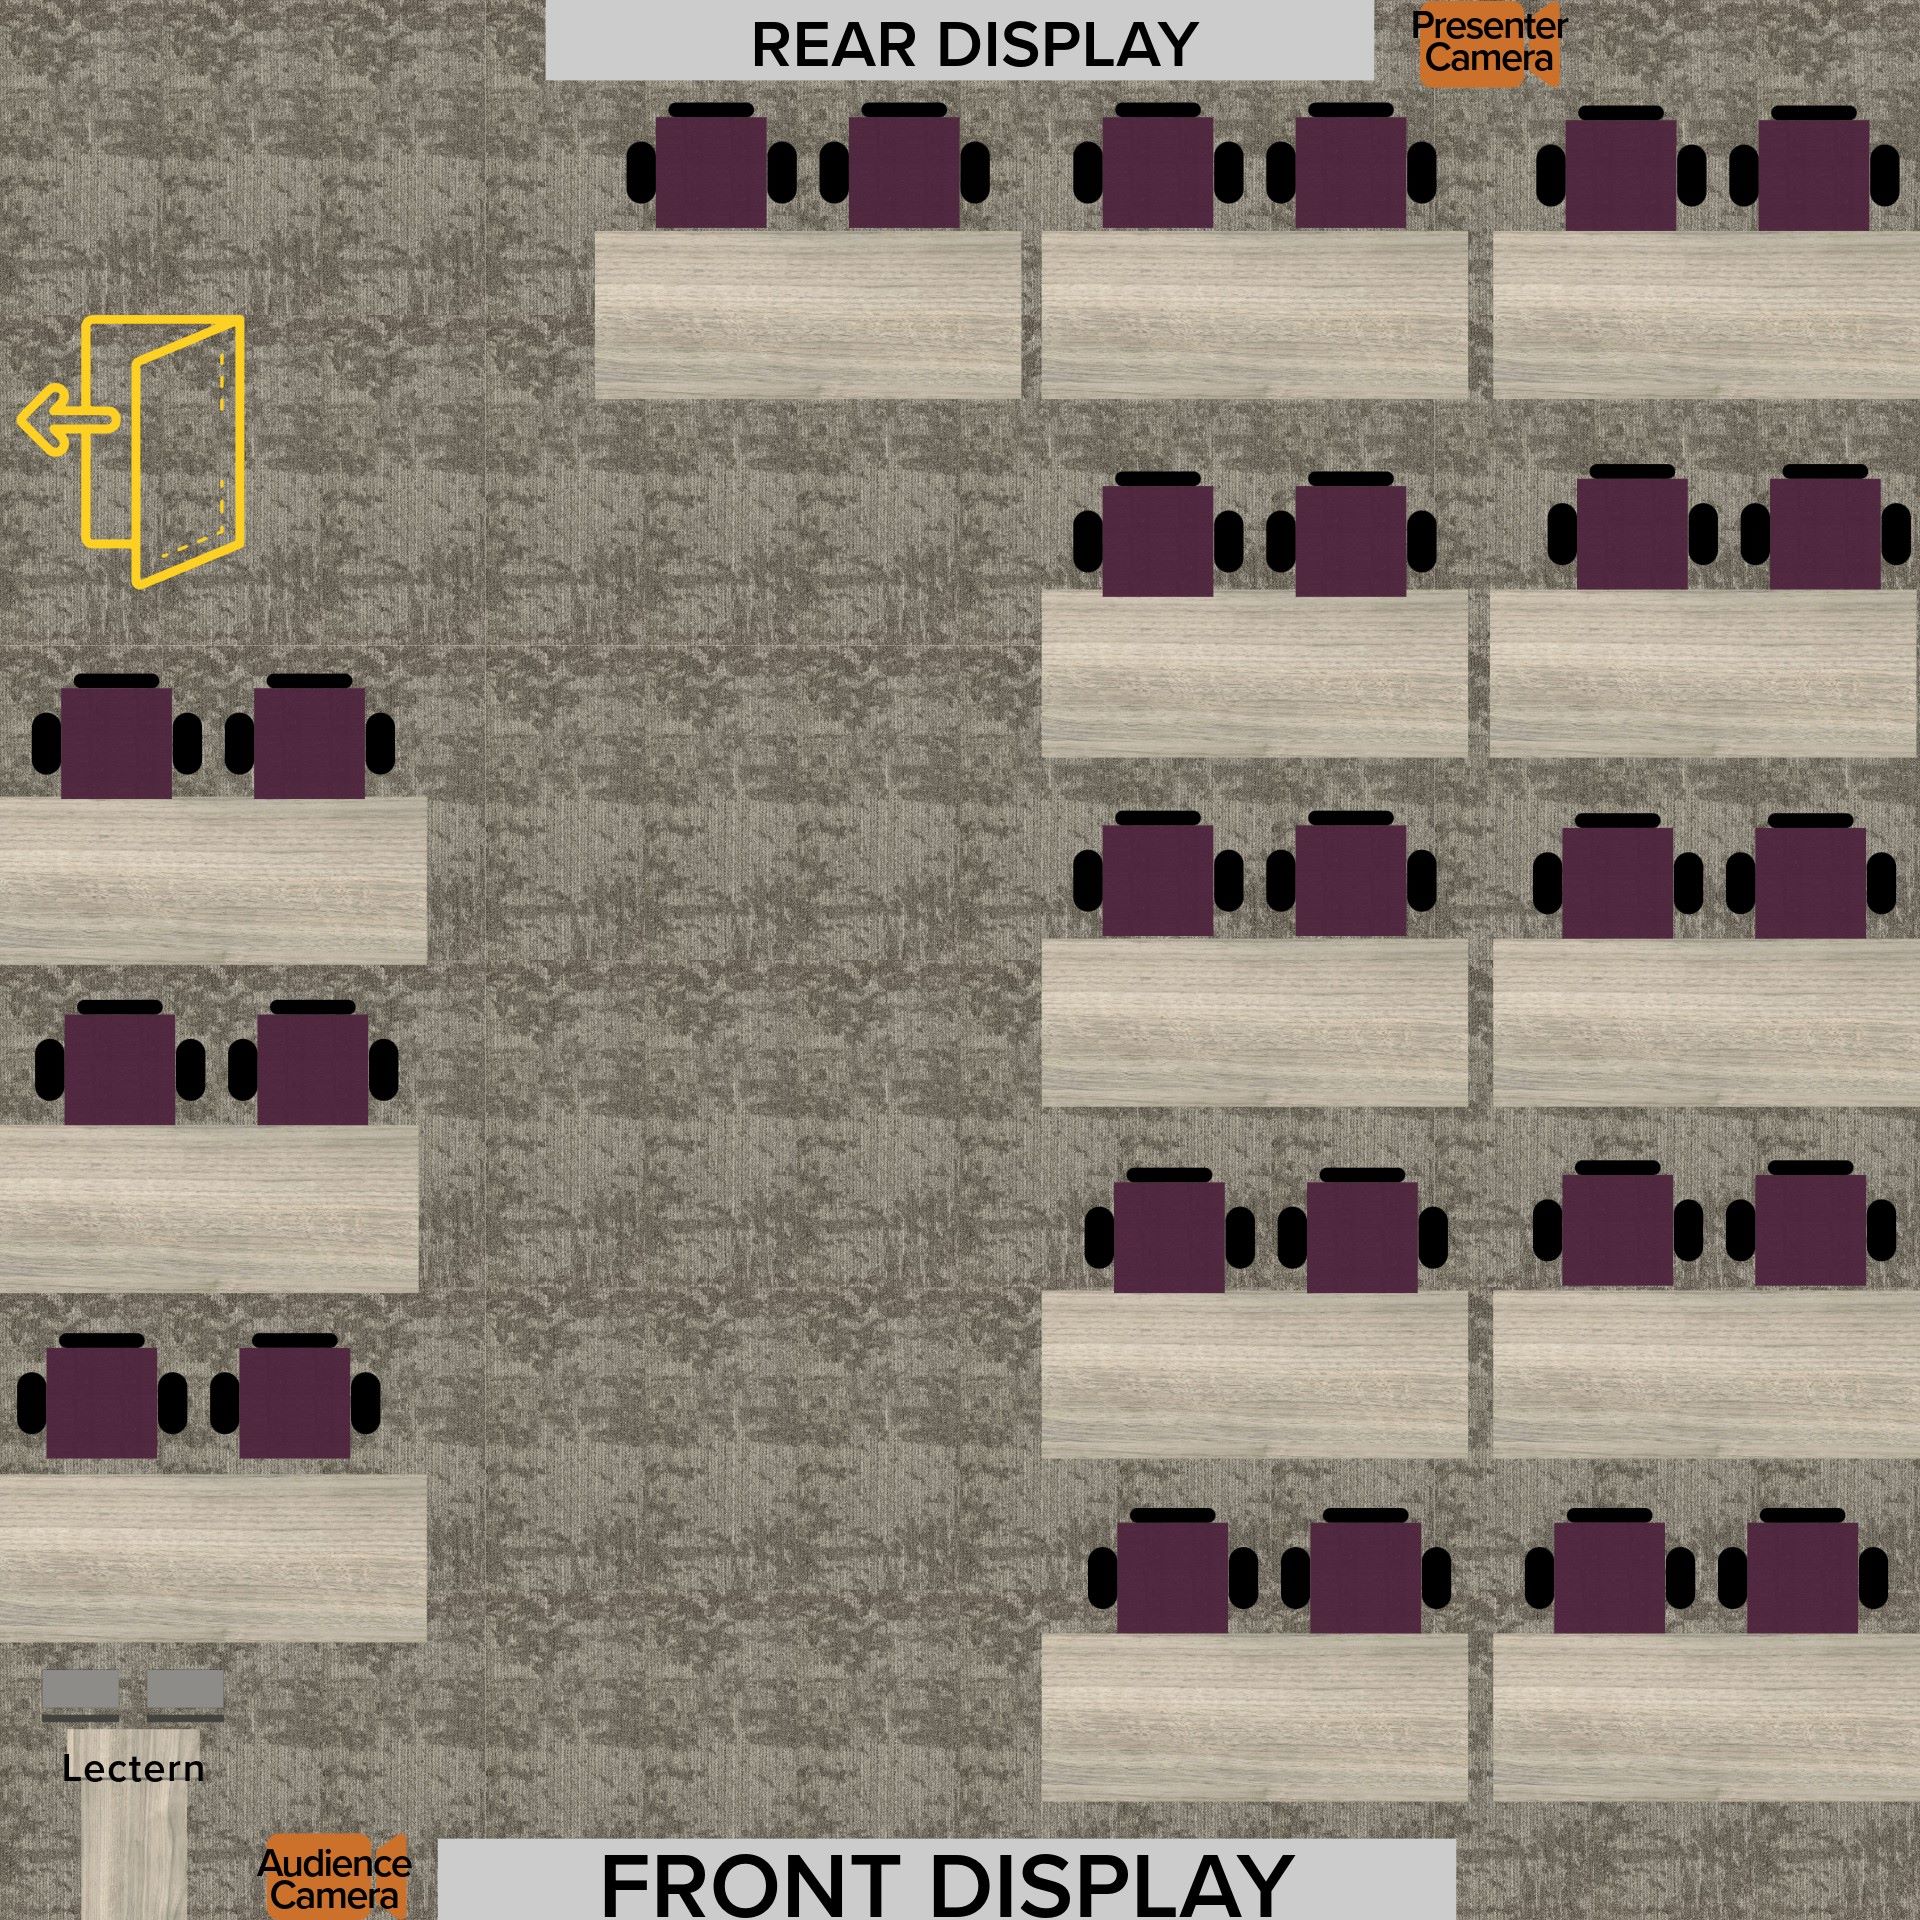
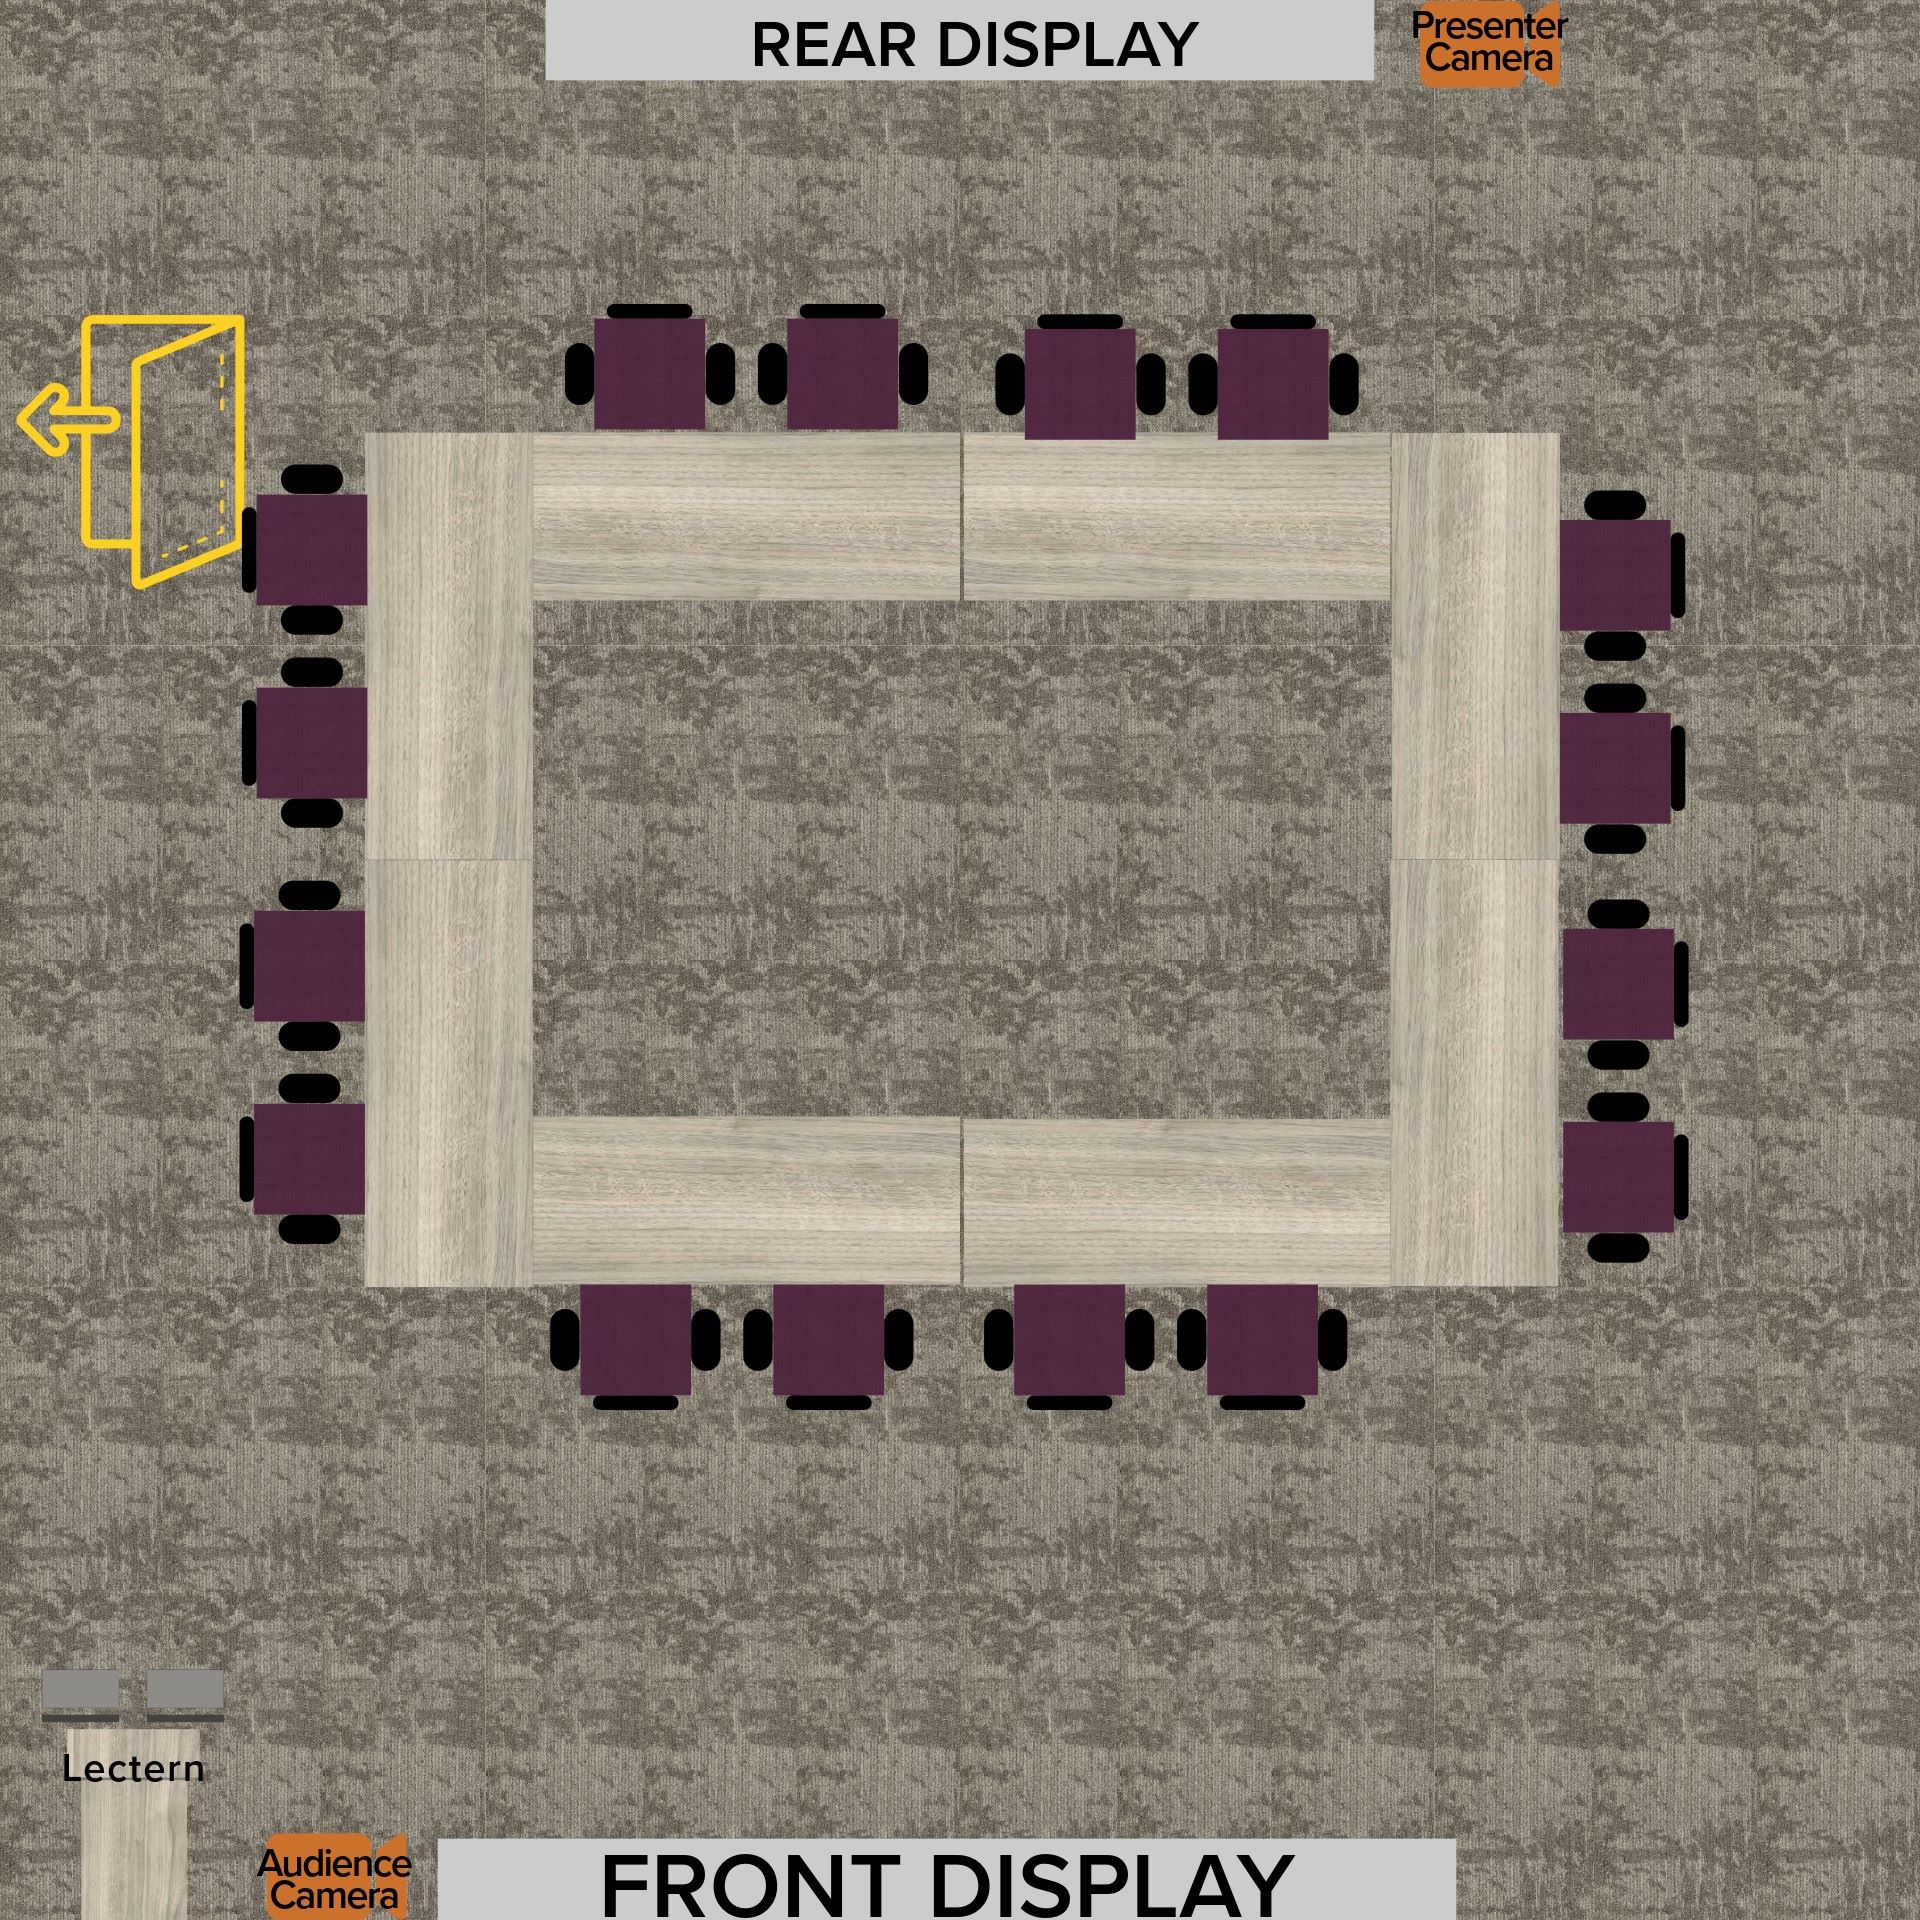
114 Peabody Seminar Room
Multimedia Instructions
Overview
Some classrooms at LSU have been upgraded to include Audio/Visual (A/V) equipment to assist with onsite and remote instruction. A classroom with these upgrades is known as a “Tier 2 classroom.” Most of the equipment operates without user intervention and cannot be adjusted.
114 Peabody's system is slightly different than other classrooms, as it includes the ability to allow the user to:
- control the input of the rear screen
- toggle between Classroom (default) and conference mode.
Display Content From PC
Getting Started
- Select "Power On" on the wall-mounted control panel
- Select "PC". The lectern PC monitors should power on. (NOTE: you may have to wiggle
the mouse)
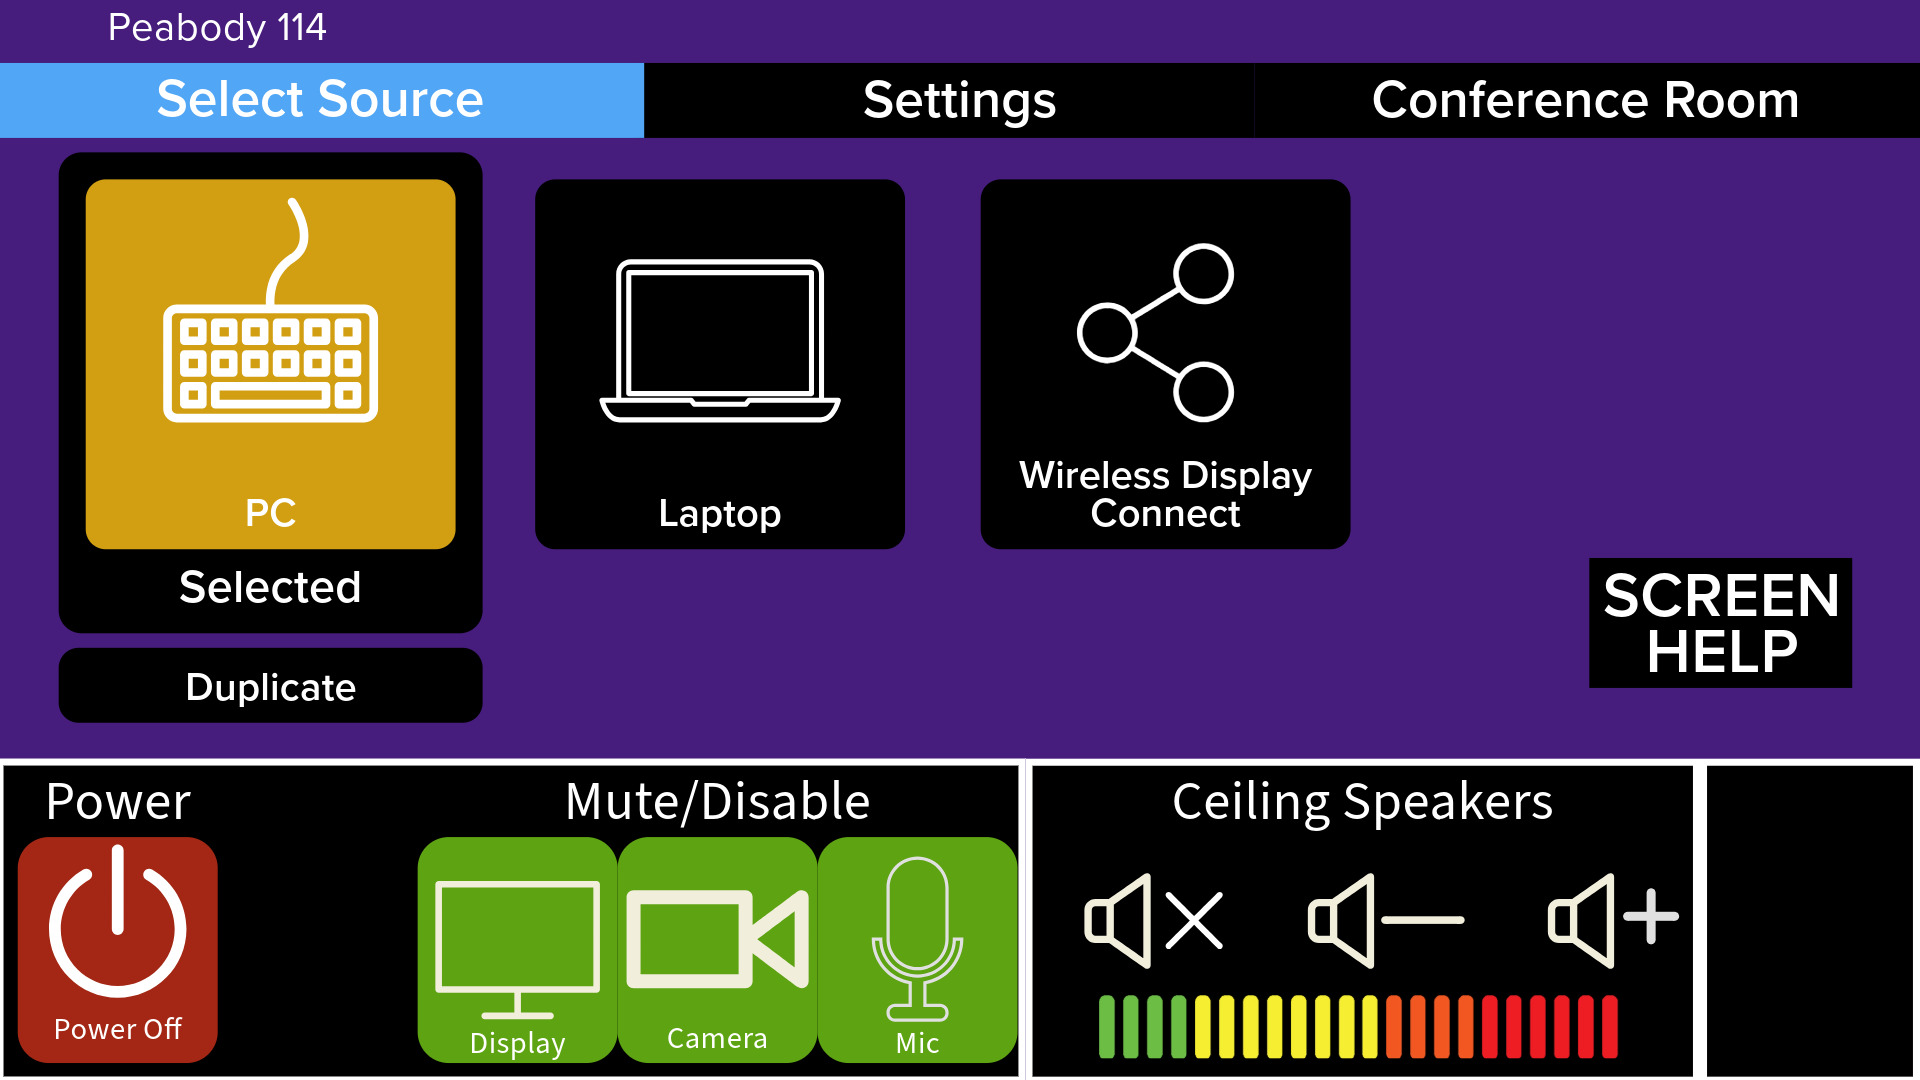
- When the lectern PC monitors come on, Logon to the PC with your LSU credentials.
- The default setting is "Classroom Mode" with PC Display 1 mirrored on the Rear Display and PC Display 2 mirrored on Front Display. Selecting "Duplicate" will cause the Front and Rear display to mirror PC Display 2
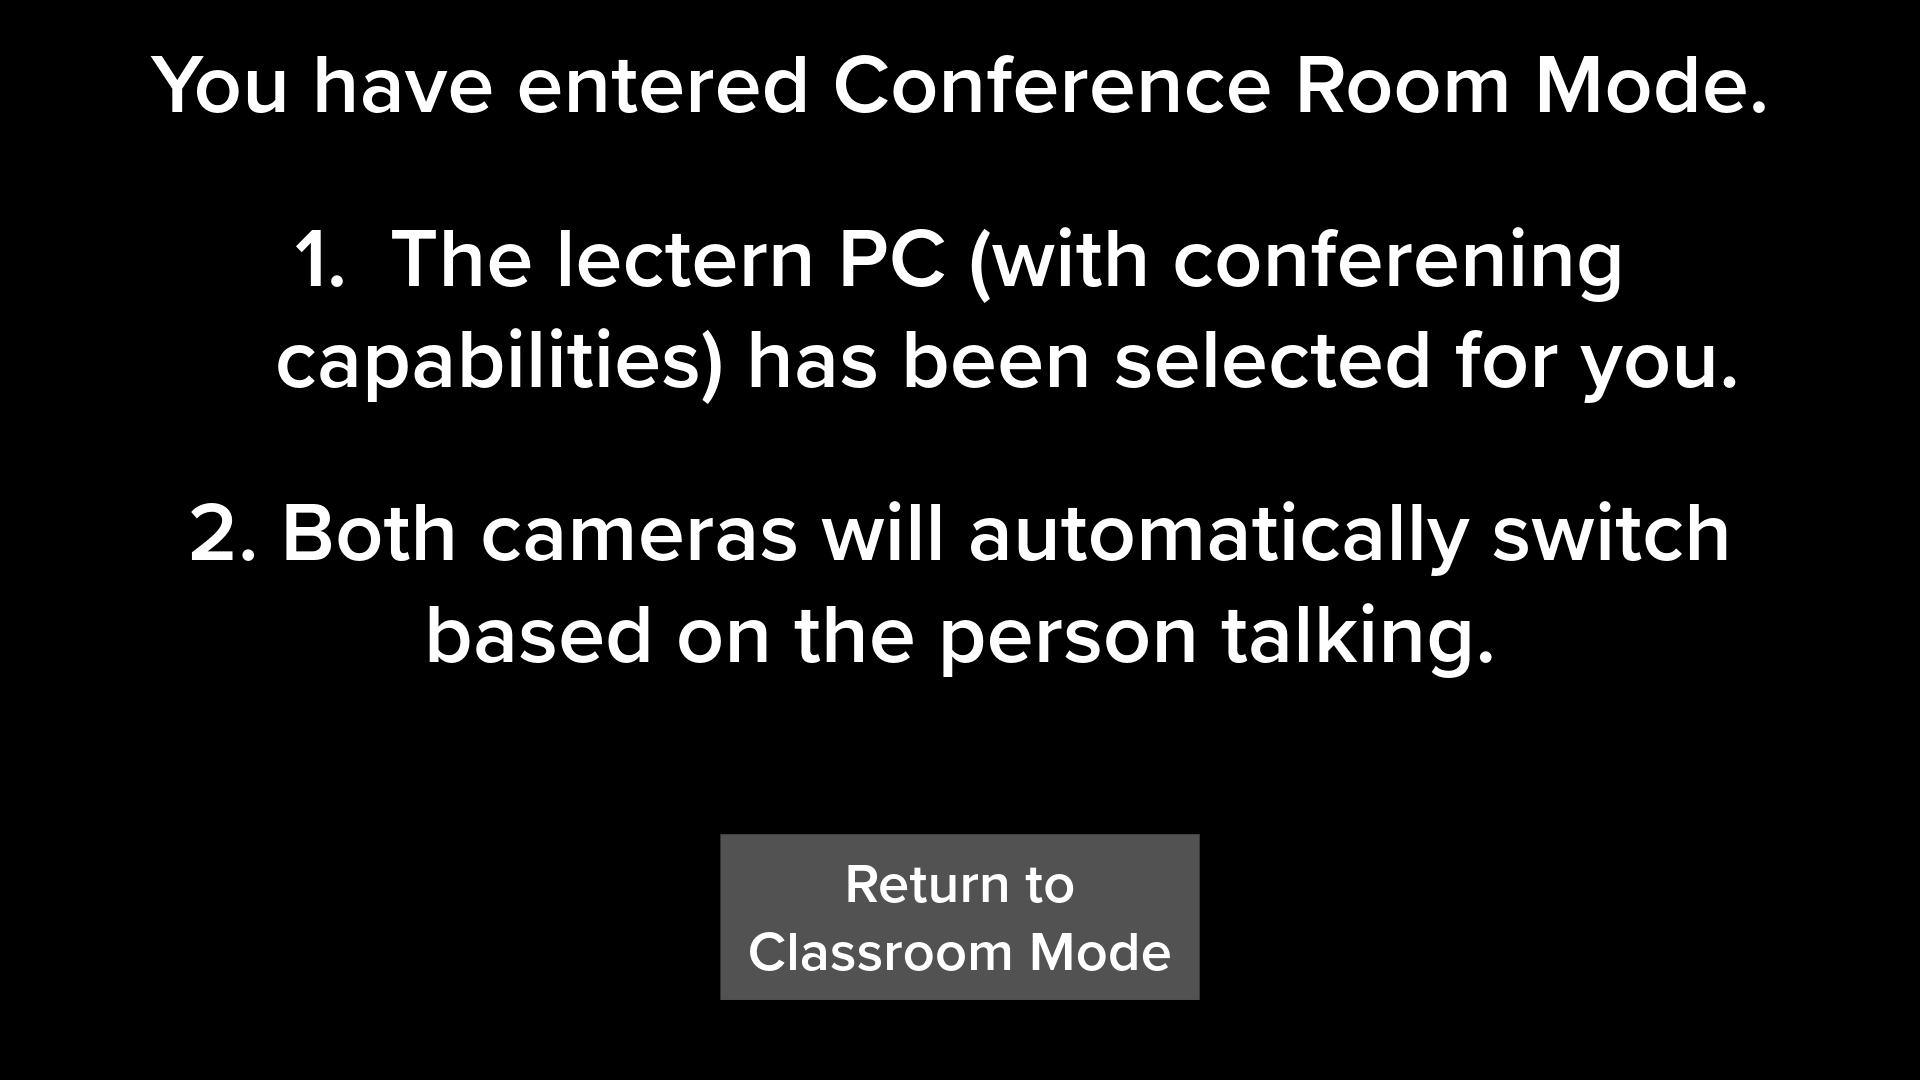
- If you select "Conference Room", the below will display
Muting Function / Room Speaker Volume
Users have the option of muting (turning off) equipment in the room; displays, cameras, and microphone.
- To mute a specific function, press the icon that corresponds to the device you would
like to mute. The display icon will run red with an X.
- When the camera is muted, the camera will point up.
- When the microphone is muted, the LED lights on the ceiling mounted microphone will turn red.
- To un-mute, simply press the icon to the corresponding device. The display icon will turn green.
- To mute the ceiling speakers, select the speaker iron with the X,
- To increase the volume, select the + icon
- To decrease the volume, select the - icon
Using a Thumb Drive with the PC
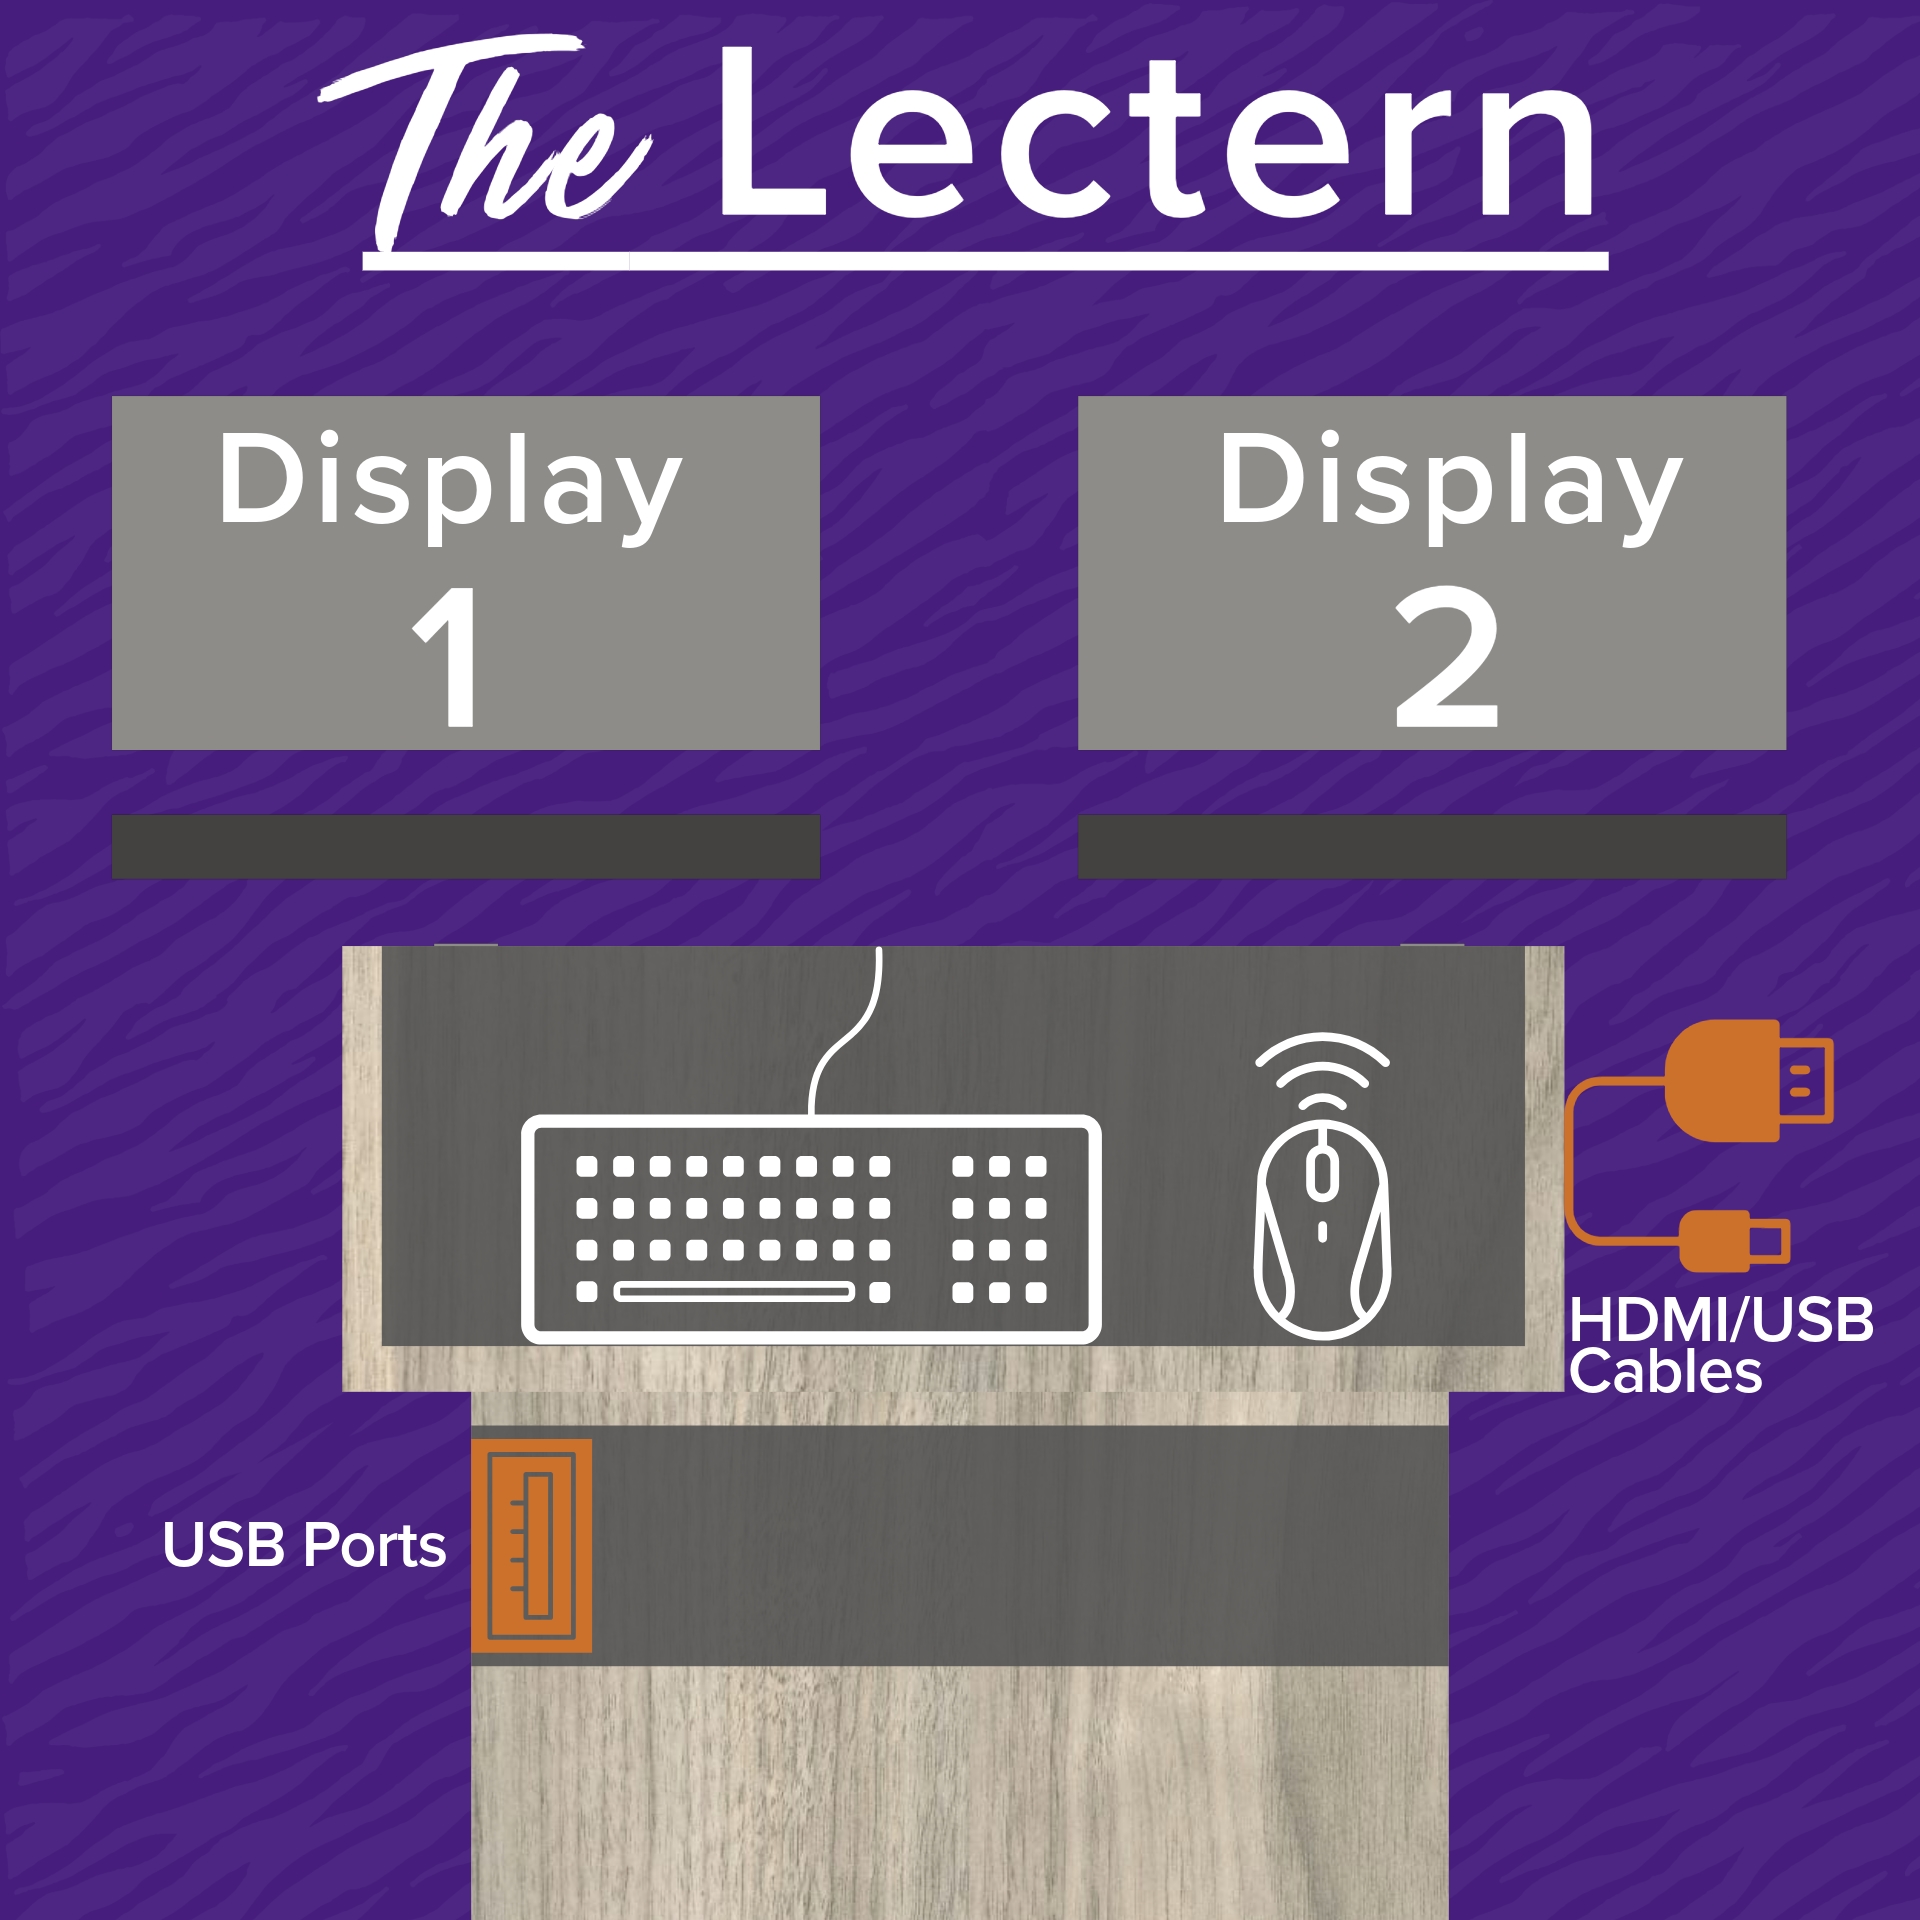
- After logging in to the PC, connect a thumb drive to the USB hub that is mounted to the lectern, just below the keyboard.
- Open File Explorer and select the thumb drive.
Using Zoom or Teams with the PC
- With the PC selected, open your Teams or Zoom session
- Open the settings menu and ensure that the correct microphone, speakers, and camera is selected.
Display Content from Laptop
- Connect both the USB cable and the HDMI cable to your laptop or Macbook. Connection
cables are located on the lectern, under the PC displays.
- CAUTION: Only use one adapter per cable - do not use multi-hub adapters for the 2 cables.
- Press the Laptop icon on the touchscreen.
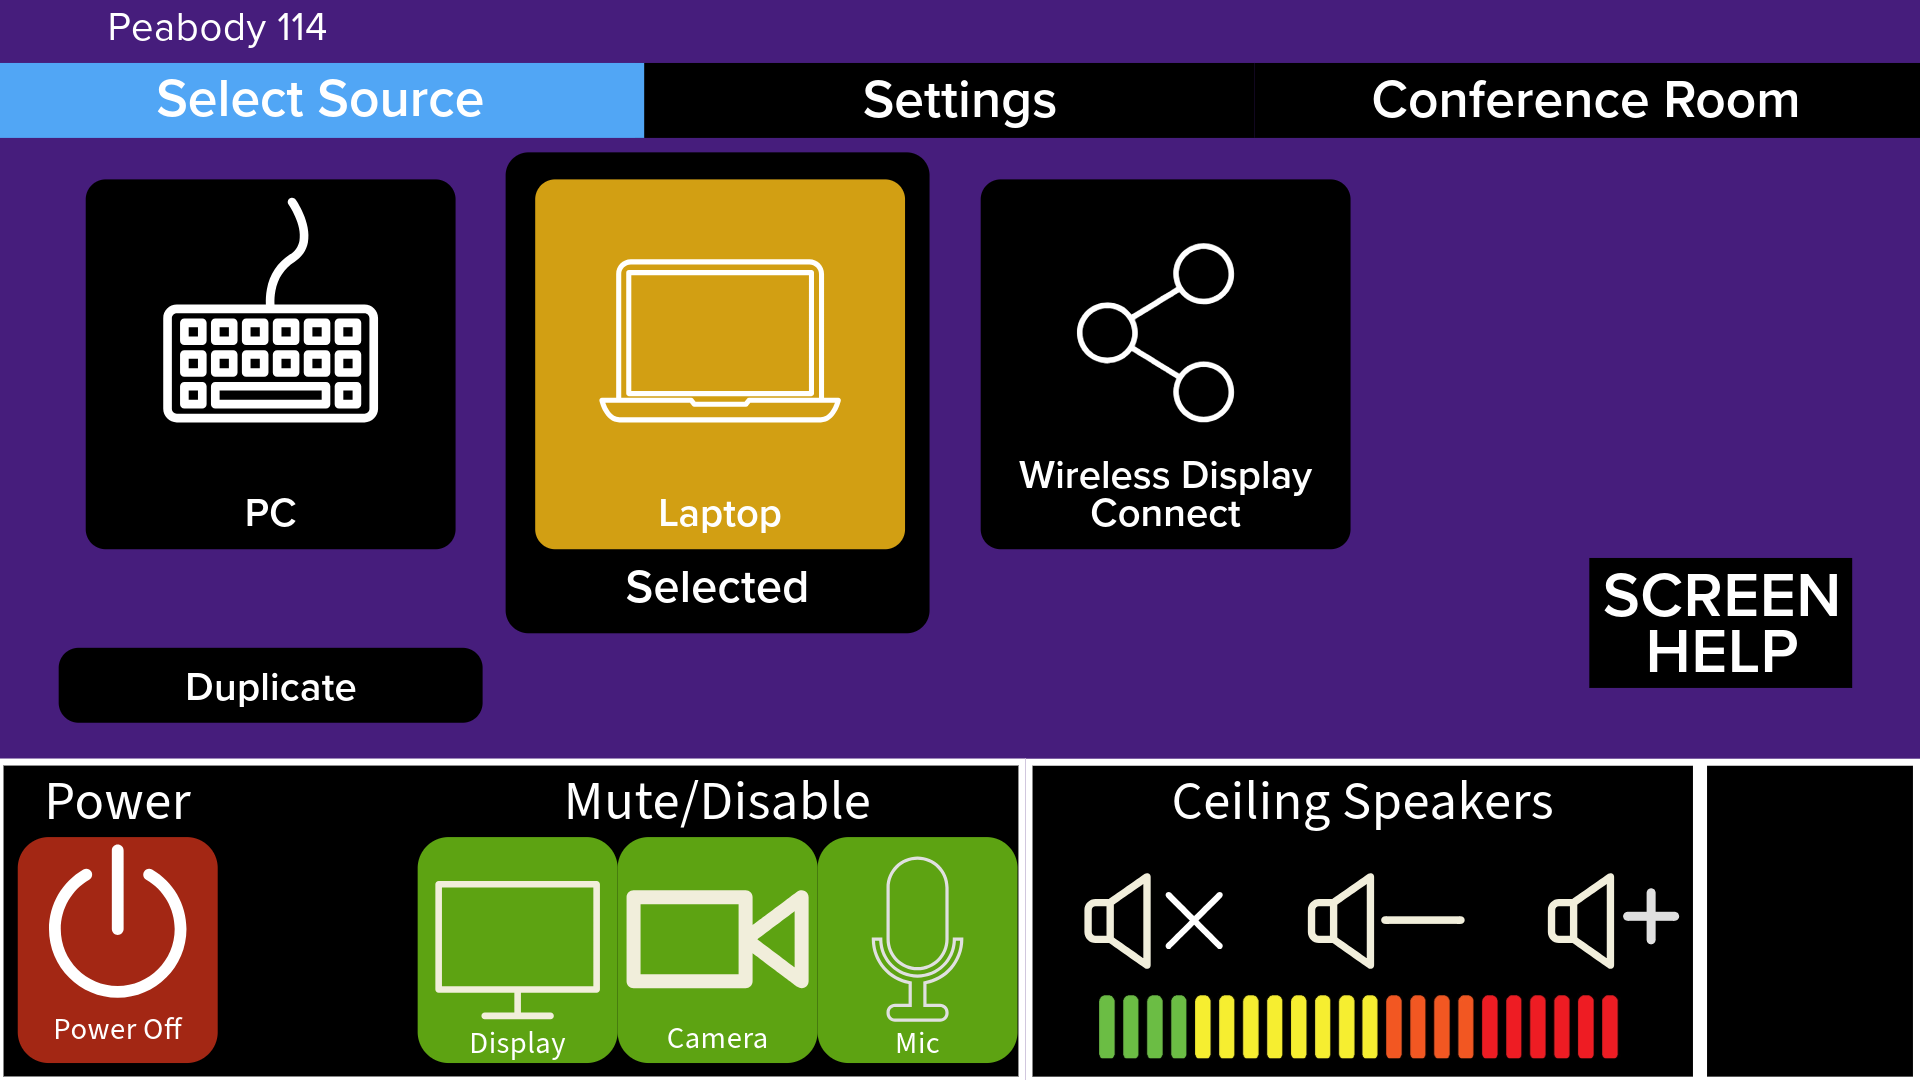
- You can then select to your equipment "Mute" options.
- If you are using Teams or Zoom, remember to check the settings to ensure you are using the room's cameras and microphone.
Using Wireless Display Connect Feature
This feature can be used to wirelessly connect to both room displays. You must connect your device to eduroam before continuing.
NOTE: This feature does not allow access to the room's cameras or microphones.
- Select the "Wireless Display Connect" icon on the control panel. The room displays
will generate an image (example below)
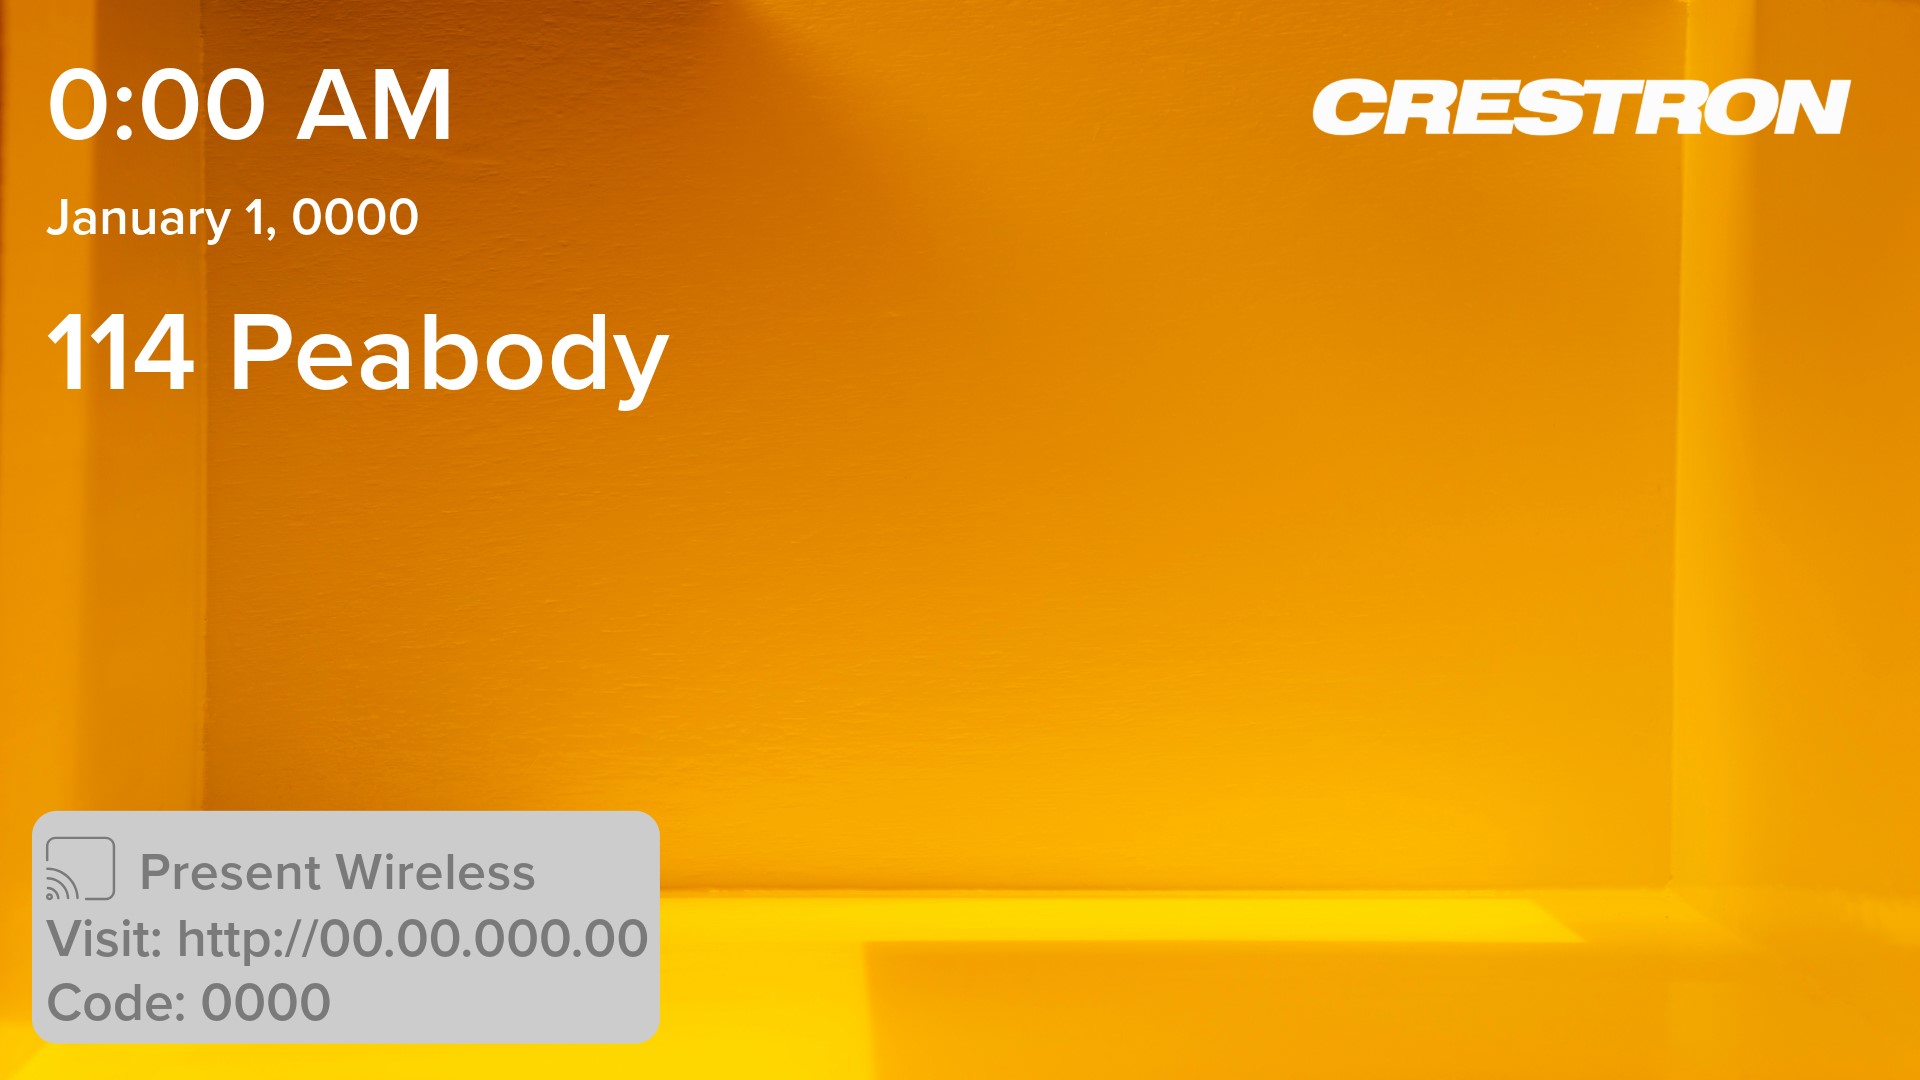
- Open a web browser on their laptop/device and enter the web address that is on the classroom display.
- The user will be prompted to download the Crestron app.
- Once downloaded, the user will then open the Crestron app. The system will automatically detect that a device is attempting to connect, and a code will appear on the classroom displays.
- The user will then enter the code on the Crestron app to begin sharing.
- When finished, simply exit out of the web browser.
